
Note: This documentation covers both the Free and Pro versions of FundCollector. FundCollector Pro requires the Free version to be installed and kept active at all times. Sections that apply only to Pro are marked with PRO.
General Settings
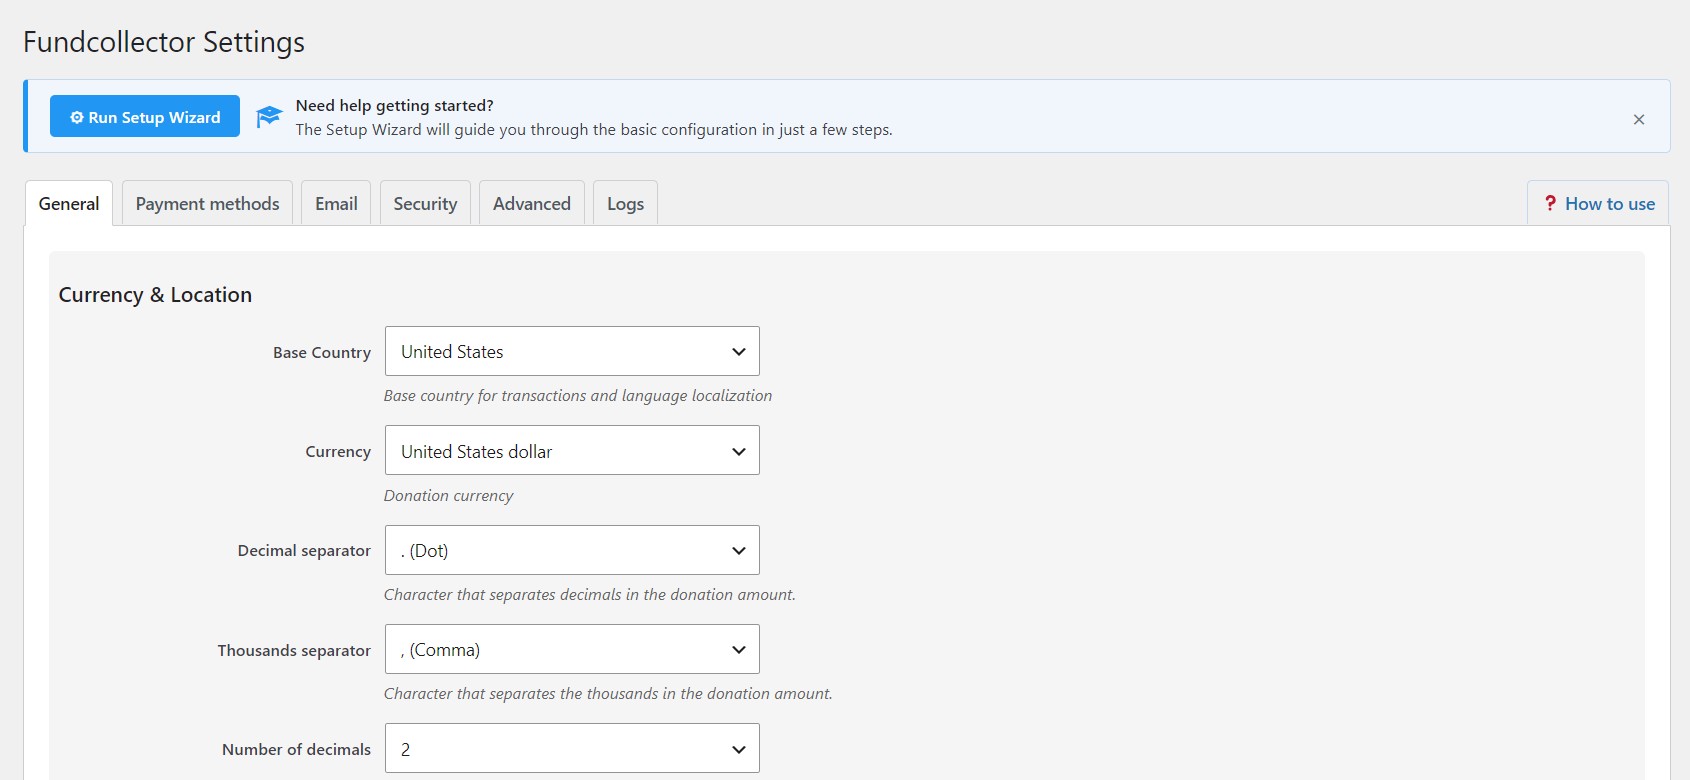
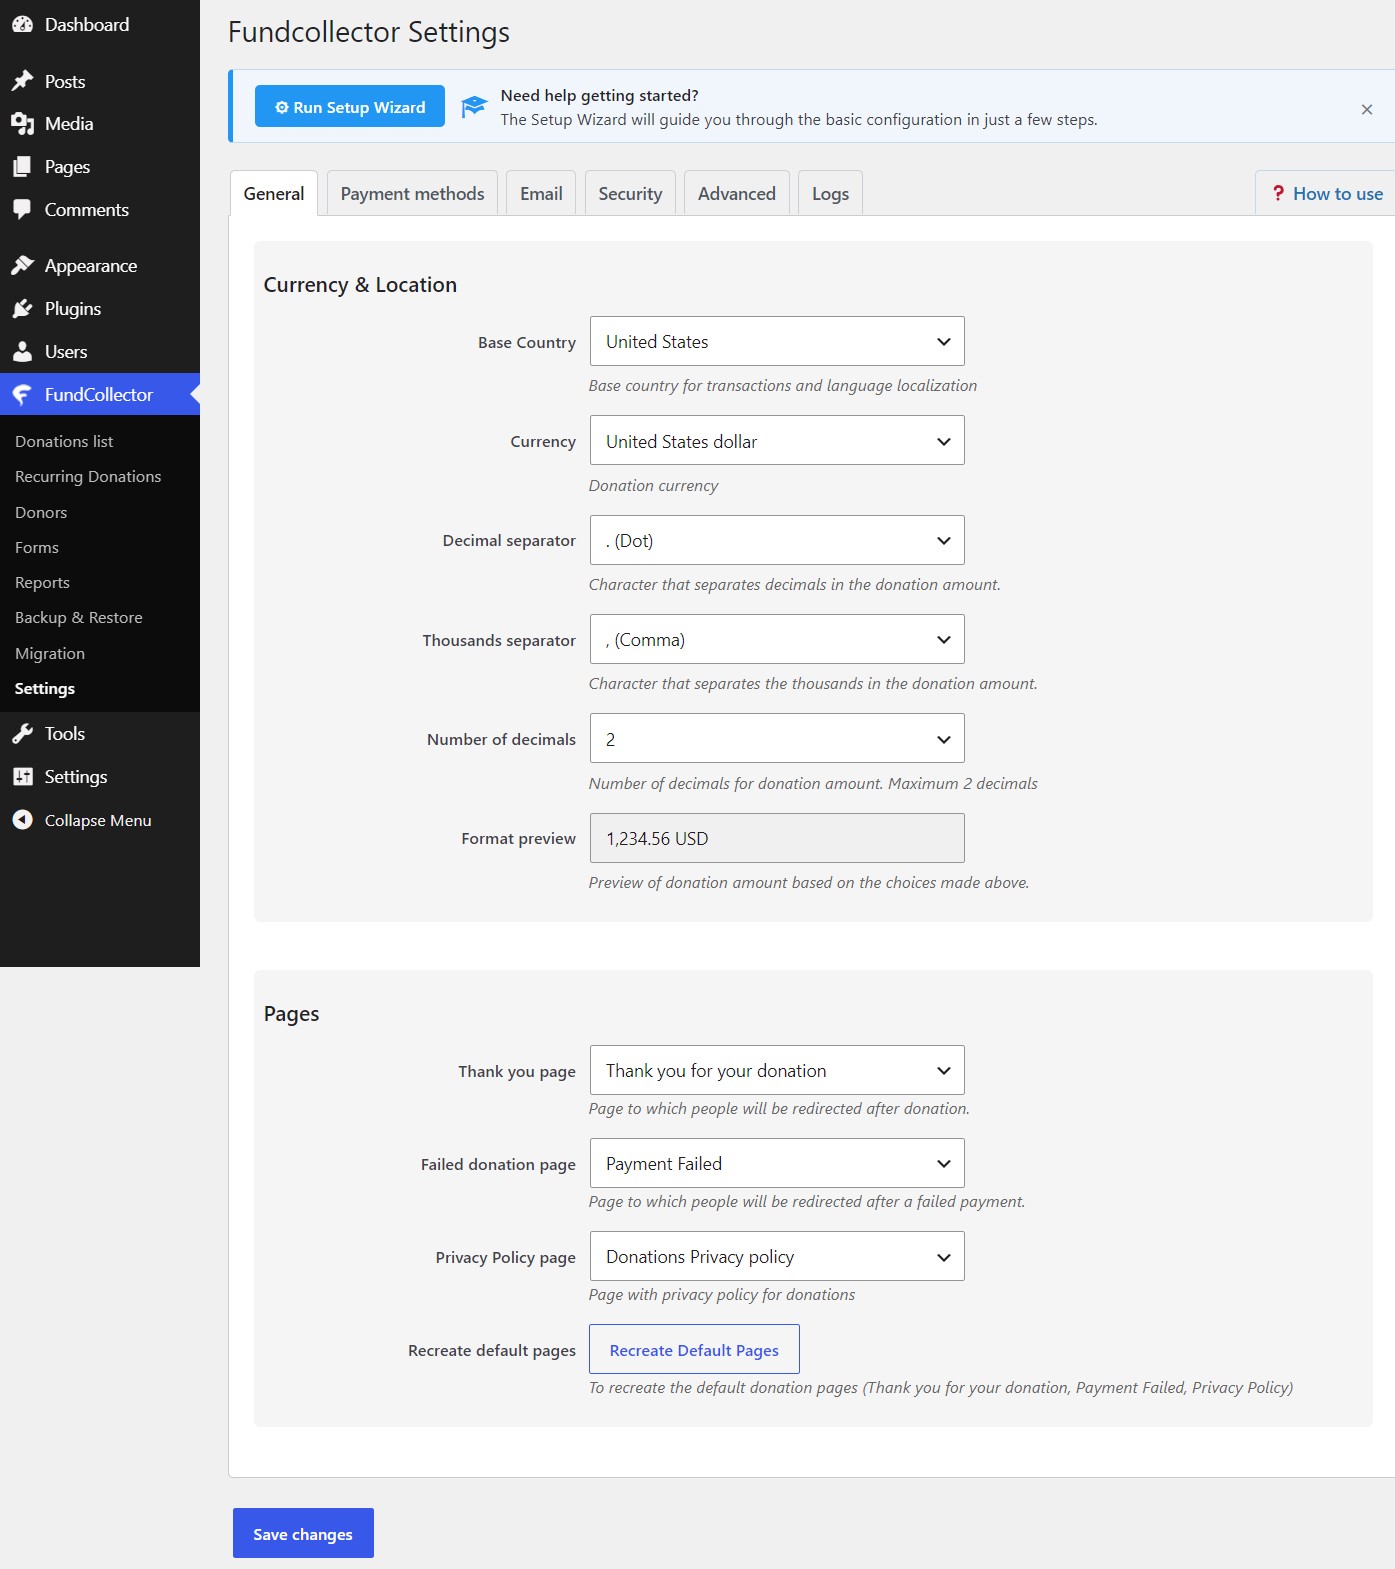
Navigate to FundCollector → Settings to configure FundCollector. The Settings screen includes the General, Payment methods, Email, Security, Advanced, Logs, and How to use tabs.
Setup Wizard
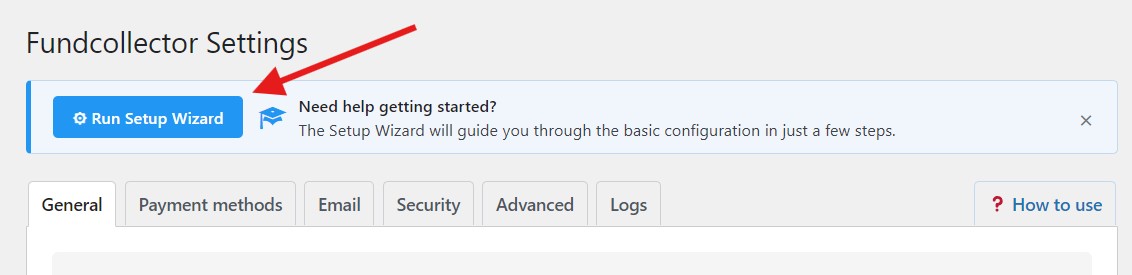
The Setup Wizard is provided by FundCollector Free and adapts automatically when Pro is active. It opens after a normal, single-plugin activation of FundCollector or FundCollector Pro. This means that an administrator can install Free, activate Pro immediately afterwards, and then complete one wizard with the Pro payment options already available. It does not open automatically after a WordPress bulk activation. You can always reopen it with Run Setup Wizard in FundCollector → Settings.
The wizard has four steps:
- Basics – Choose the base country and currency, then set decimal and thousands separators.
- Payments – Enable and configure PayPal with Live Client ID, Live Client Secret, and Live Webhook ID. After entering the Client ID and Secret, use Automatic Webhook Creation when the site is publicly reachable over HTTPS. You can skip payment setup and finish it later under Payment Methods. With Pro active, you can also enable PayPal recurring donations. You can also enable Mollie alongside PayPal. When Mollie Connect is available, select Connect with Mollie, authorise the connection on Mollie, and return to the wizard without copying API keys. If Mollie Connect is not available, enter the Live API Key and Profile ID manually. You can also enable Mollie recurring donations here. PRO
- Notifications – Choose the email address that receives administrator donation notifications. Add more recipients later in Email settings.
- Done – Finish the configuration and use the shortcuts to create a donation form or open Settings.
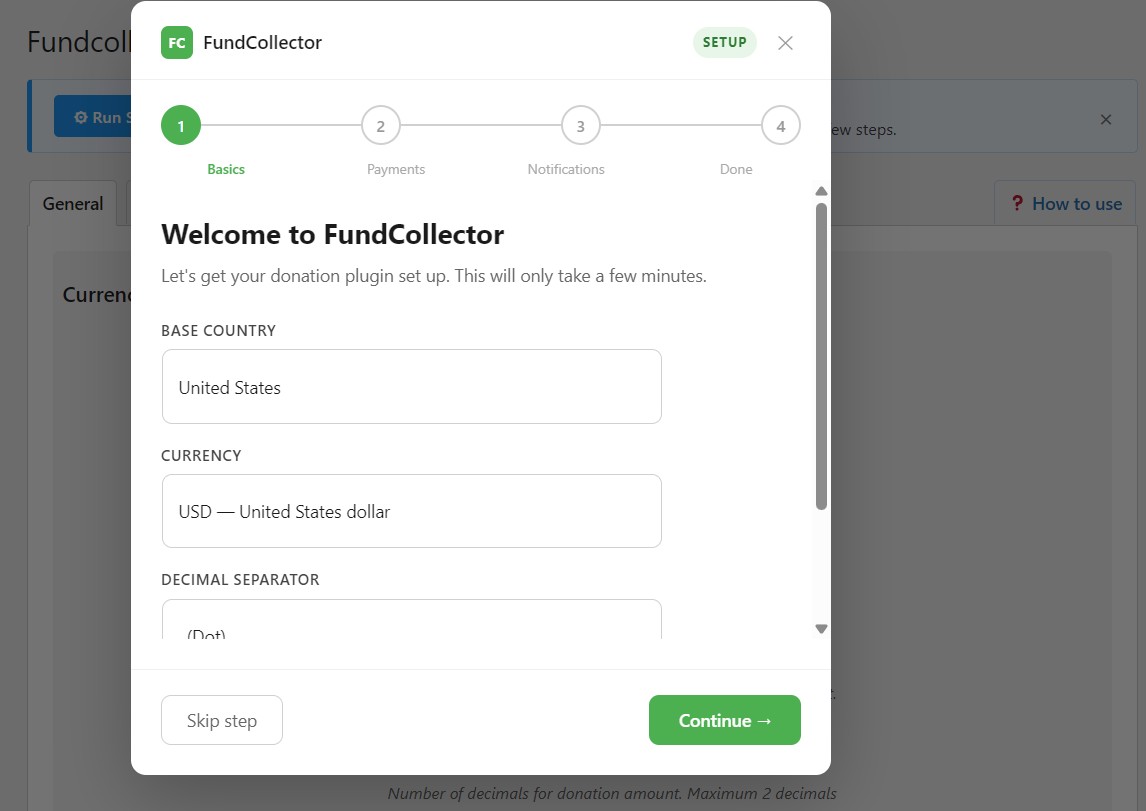
You can skip individual steps, close the wizard, and change every value later in Settings. The wizard does not replace the detailed PayPal and Mollie setup guides: use the Payment Methods settings to configure Sandbox or test credentials, bank transfer, additional email recipients, and any gateway options not needed during first setup.
Settings tabs
- General: currency, location, and the pages used in the donation flow.
- Payment methods: PayPal and bank transfer, plus Mollie when FundCollector Pro is active.
- Email: donation receipts, administrator notifications, and mail delivery settings.
- Security: honeypot and reCAPTCHA protection for donation forms.
- Advanced: the option to delete FundCollector data when the plugin is uninstalled.
- Logs: view, filter, download, or clear diagnostic logs, and create a temporary support access link when needed.
- How to use: a short in-admin checklist for configuring FundCollector, plus a Pro overview when FundCollector Pro is active. PRO
Currency & Location Settings
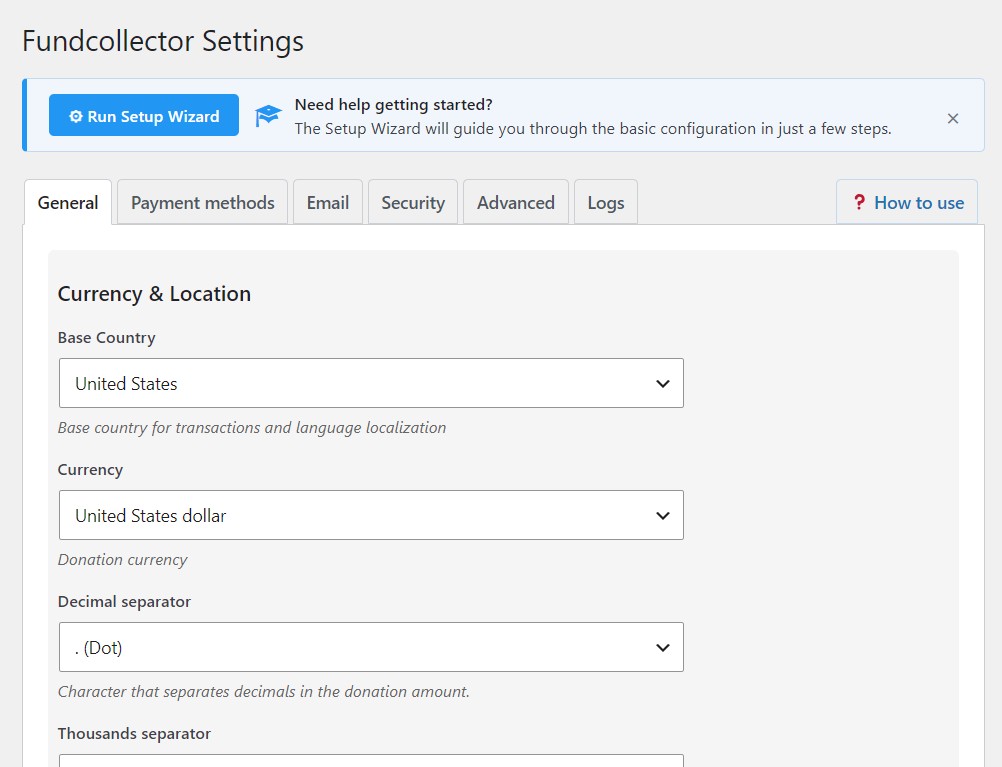
These settings define how donation amounts are displayed and processed:
Base Country
- Select your organization’s primary country
- This helps ensure proper payment processing for all gateways
- Affects currency compatibility and regional settings
Currency
- Choose your preferred currency (USD, EUR, GBP, etc.)
- Important: Ensure your currency is compatible with your payment gateways
- Mollie PRO supports most major currencies used in Europe (Mollie accounts are available for organizations based in Europe only)
- PayPal has specific currency requirements for different countries
Number Formatting
- Decimal Separator: Character between whole numbers and decimals (e.g.,
.or,) - Thousands Separator: Character grouping thousands (e.g.,
,or.) - Number of Decimals: How many decimal places to show (0-2 supported)
Example Formatting:
- US format:
1,000.50(comma thousands, period decimal, 2 decimals) - EU format:
1.000,50(period thousands, comma decimal, 2 decimals)
The Format preview on the same screen shows a live sample amount based on your separator and decimal choices.
Pages Settings
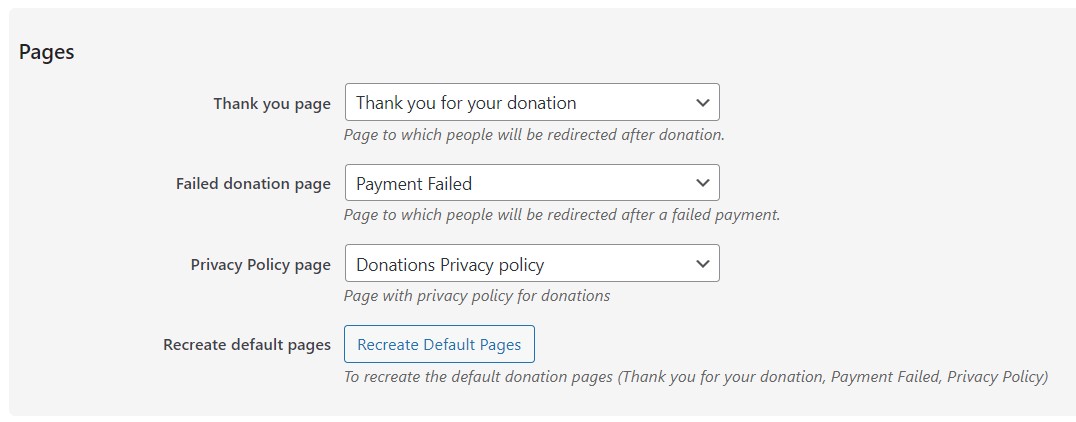
During installation, FundCollector creates three web pages to simplify the administrator work. The pages created by the plugin will be set to draft status. Use Recreate Default Pages if you deleted them or need fresh copies:
Thank You Page
- Where donors land after successful payment (one-time and recurring PRO)
- Should include a gratitude message and next steps
- Displays donation confirmation with the donation ID
Failed Donation Page
- Shown when payment fails or is cancelled
- Should include support contact information
- Offer alternative payment methods
Privacy Page
- This page is designed to accommodate your specific privacy policy; the text must be updated in accordance with the privacy regulations in effect in your country.